Uploading a File From the Computer
-
Open the job data sheet and switch to the tab with the Image.
-
Click on the Add Asset button on the data sheet or, to the side of that, select ⏷ menu > Upload new assets.
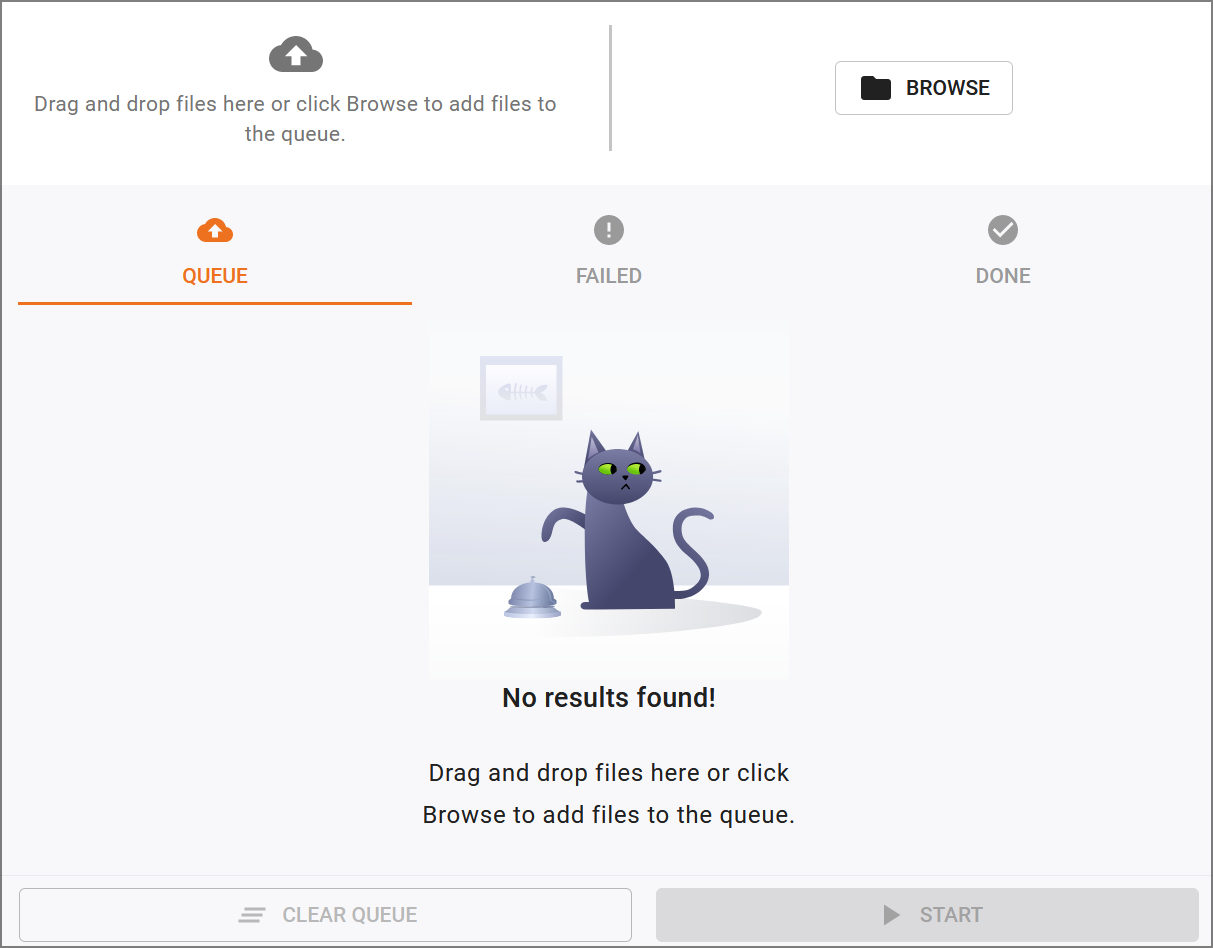
The file upload window opens.
-
Add your desired files to the upload window by drag-and-drop. Alternatively, click on Browse and select individual files or a folder.

-
Optional: To remove individual accidentally placed files from the queue, move the mouse pointer over the item and click on ✕.
To remove all files from the queue, the Clear queue button is available.
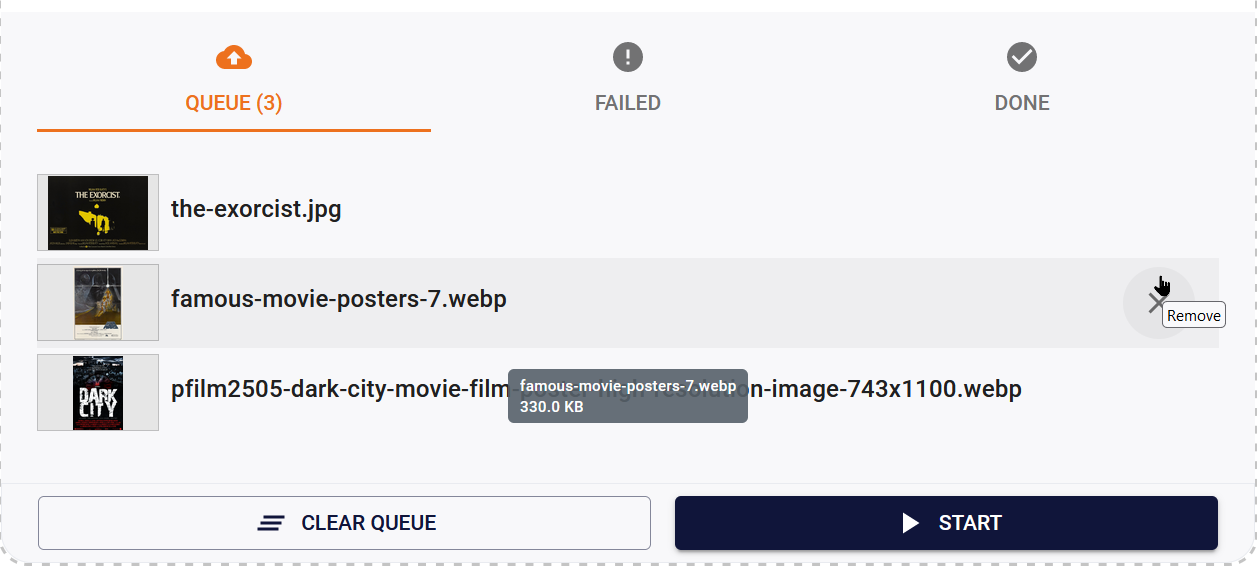
For PNG, JPEG, BMP or GIF files, a preview image is already displayed immediately after adding. For multi-page documents, preview generation takes more time and is only visible on the data sheet after a little delay.
-
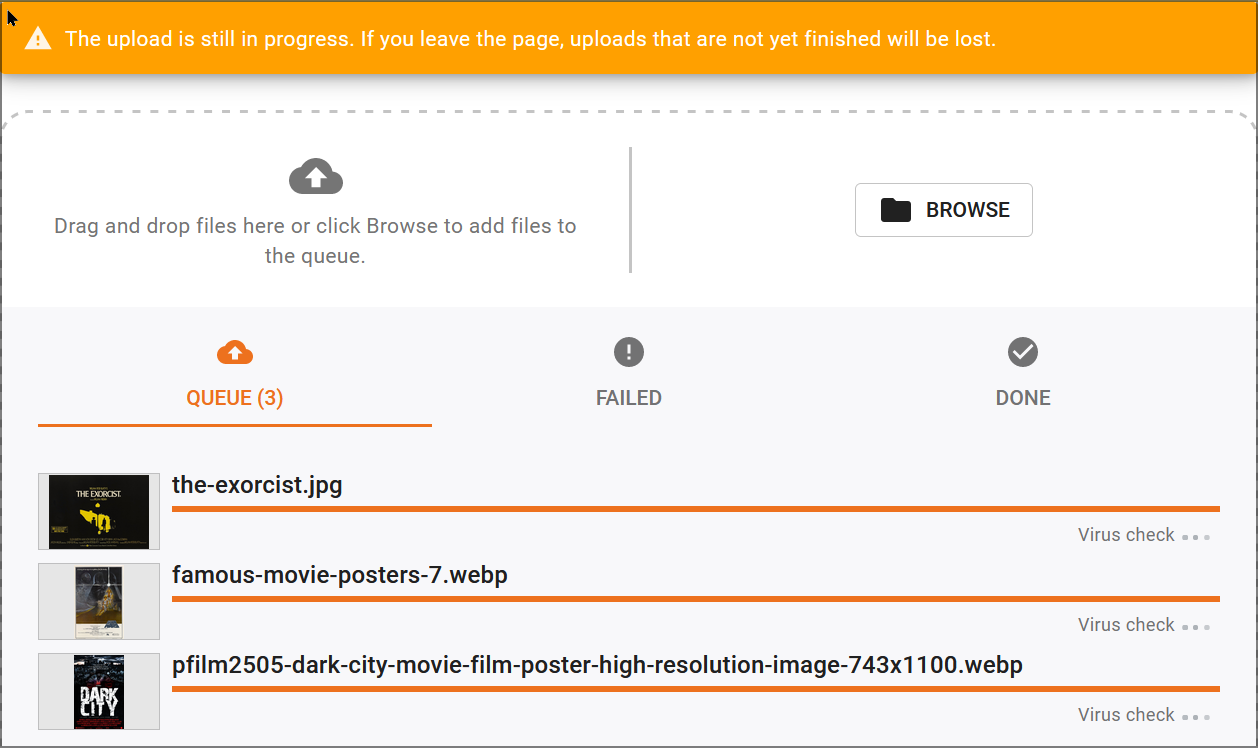
Click on Start.
-
The files are uploaded and subjected to a check.

Note
The separate upload window must not be closed before the process is complete. While uploading large files or a large number of files, you can continue working in the system without interruption.
If an upload fails, you will get more information in a tooltip by moving the mouse pointer over the corresponding file in the list. Often the file is already in the Media Pool as an identical duplicate, which is why the upload is aborted.
Assets are displayed as tiles on the data sheet once the file upload is complete.